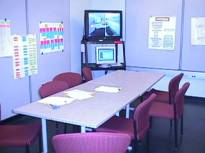
The lab is set-up as a design team “war room” and for prototype testing and user interviewing.
This room has been designed for your team to meet for your design and brainstorming sessions.
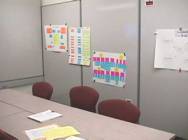
| The Design War Room has 3 writing walls and 1 pin-up wall.
The writing walls have a metal backing so that magnets can be used to hold your
models and design ideas. A supply of poster-sized paper will be available to use
for this purpose.
Use the poster-sized paper for work you wish to save such as models or design ideas. You can store your work in the tube cart. Each time your team meets put up the work you have done so far so that you can be “immersed” in the data and the recall what has been accomplished before. |
 |
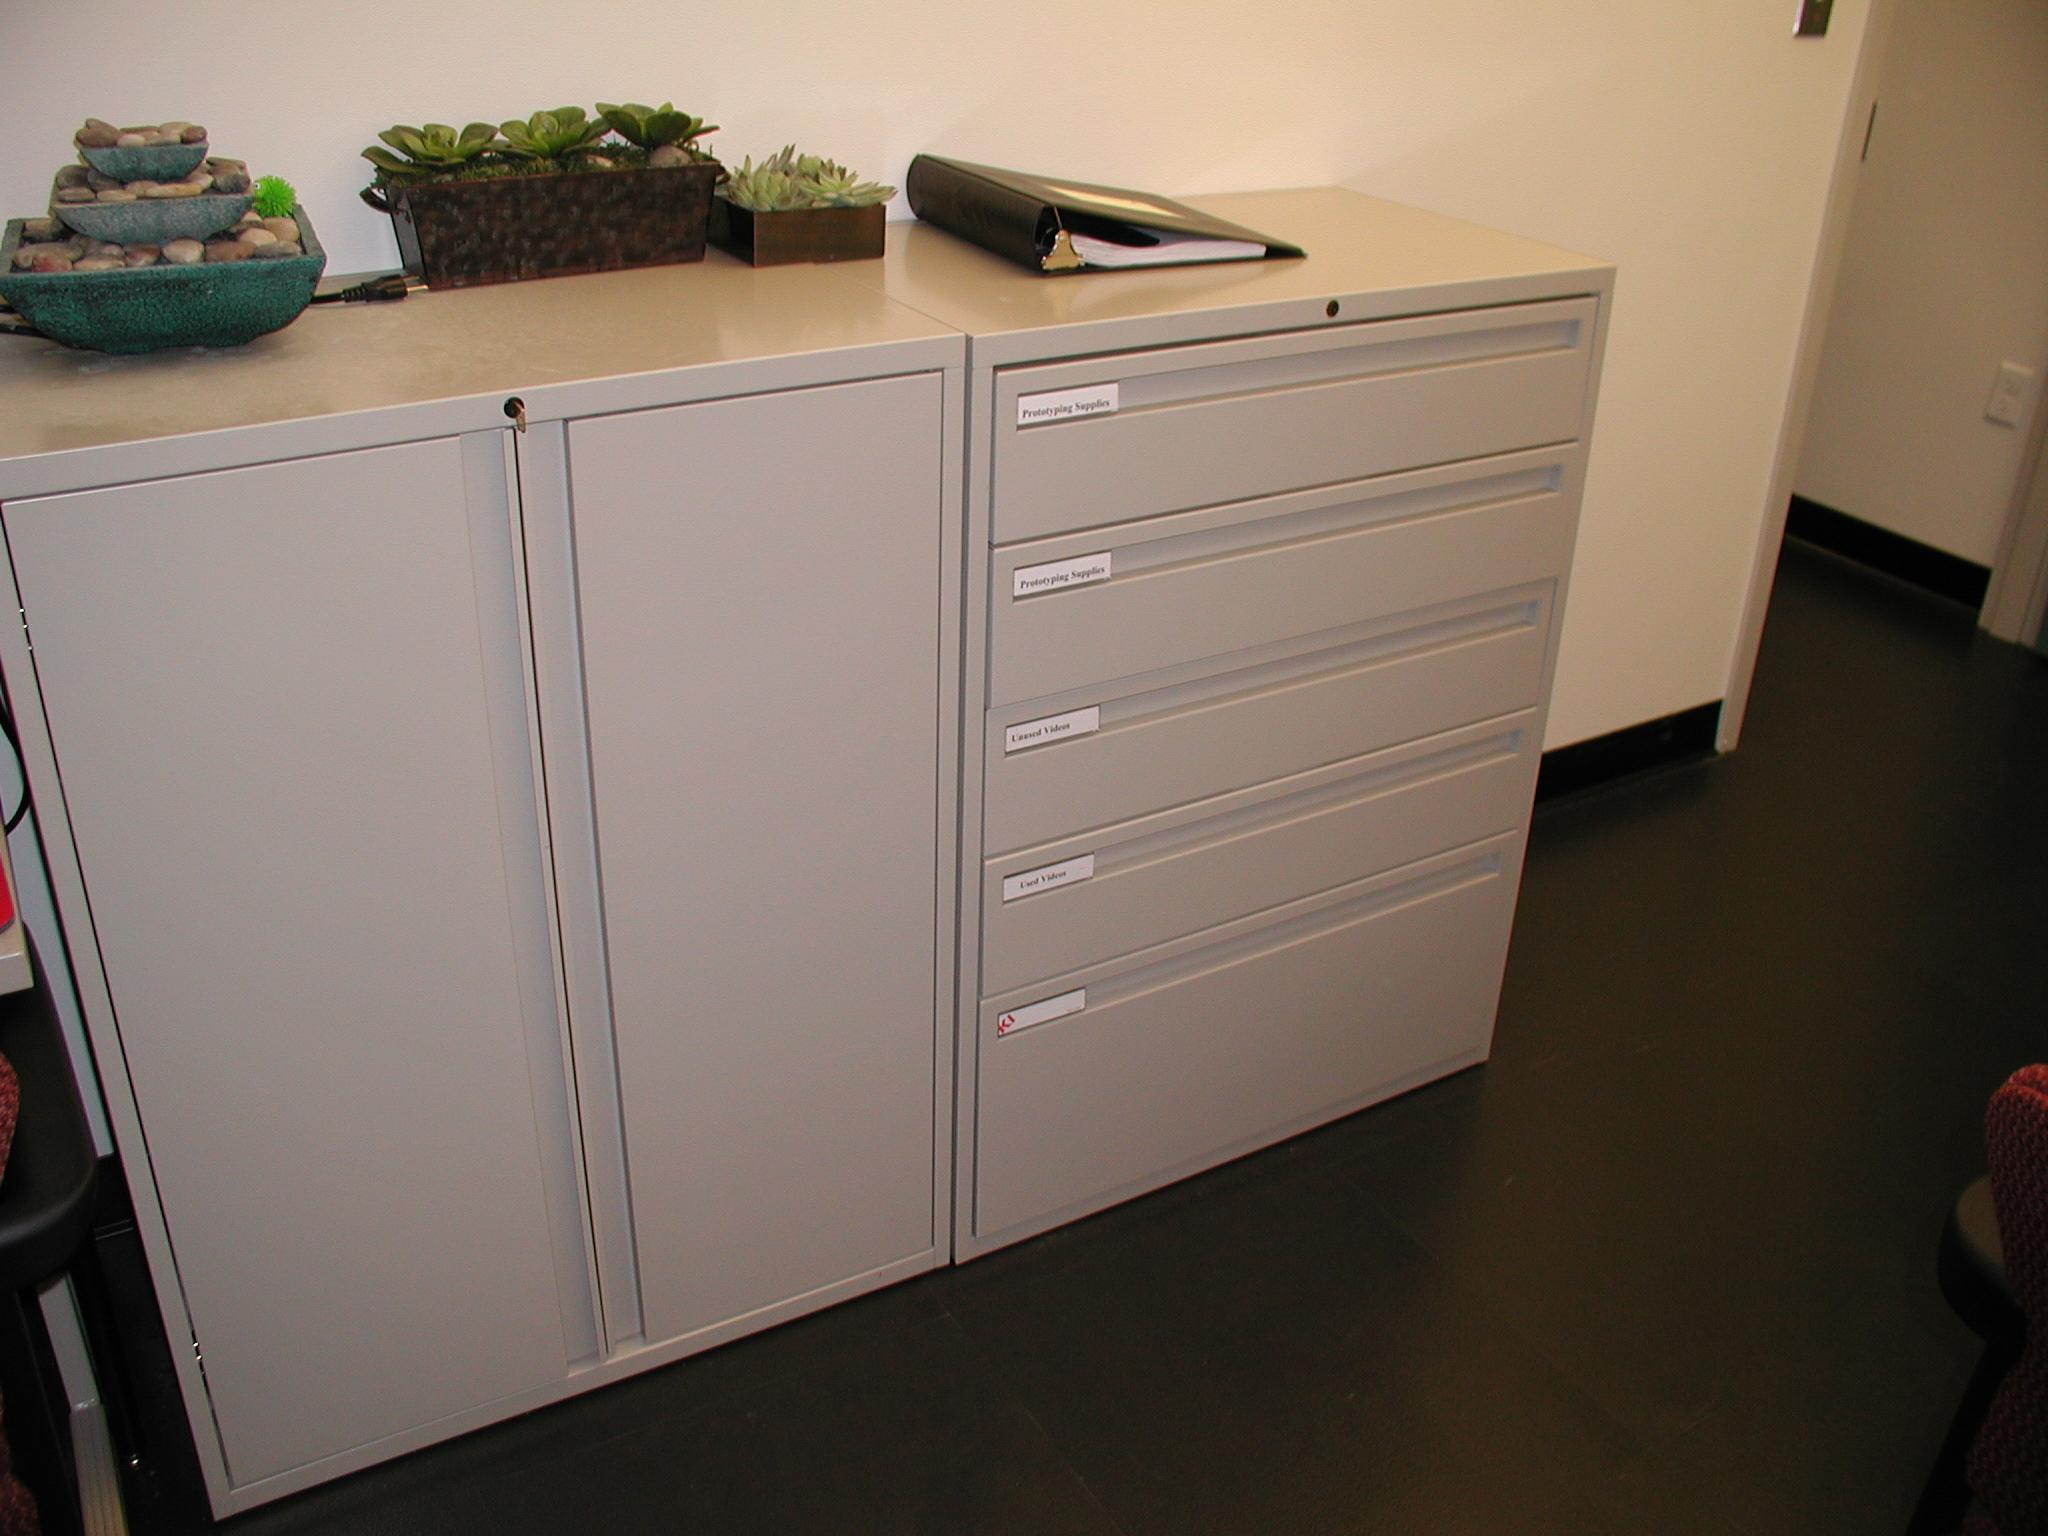 |
You may use any of the materials found in the drawers on the other side of the lab. The top two drawers contain supplies for constructing paper prototypes and the third drawer contains blank VHS tapes that you may use for your interviews. The fourth drawer is for you to store your used VHS tapes. There is no need to use the bottom drawer. |
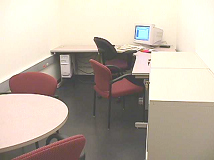
This room has been designed to interact with users for interviewing or testing out lo-fi and hi-fi prototypes.
 |
One or two of the design team members can be interacting
with users in this room, while other members can be observing over the
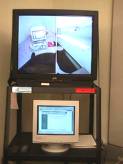
closed-circuit cameras in the Design War Room. The monitor in the Design War Room is
slaved to the computer in the User Interaction Room.
The user sessions should be video taped to view later to get details and review. There is a limited supply of videotapes. Tapes will be made available upon request. |
| When bringing users into the lab be sure the partition is pulled out so that they cannot see other design team members. This should help put them at ease. | 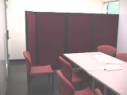 |
While the rooms are relatively well insulated, team members in the observation area should keep comments to a whisper.
| The VCR must be on and set to “A1” input in order for the camera images to appear on the TV screen. You can select the input by using the up and down arrows on the right side of the display screen. | 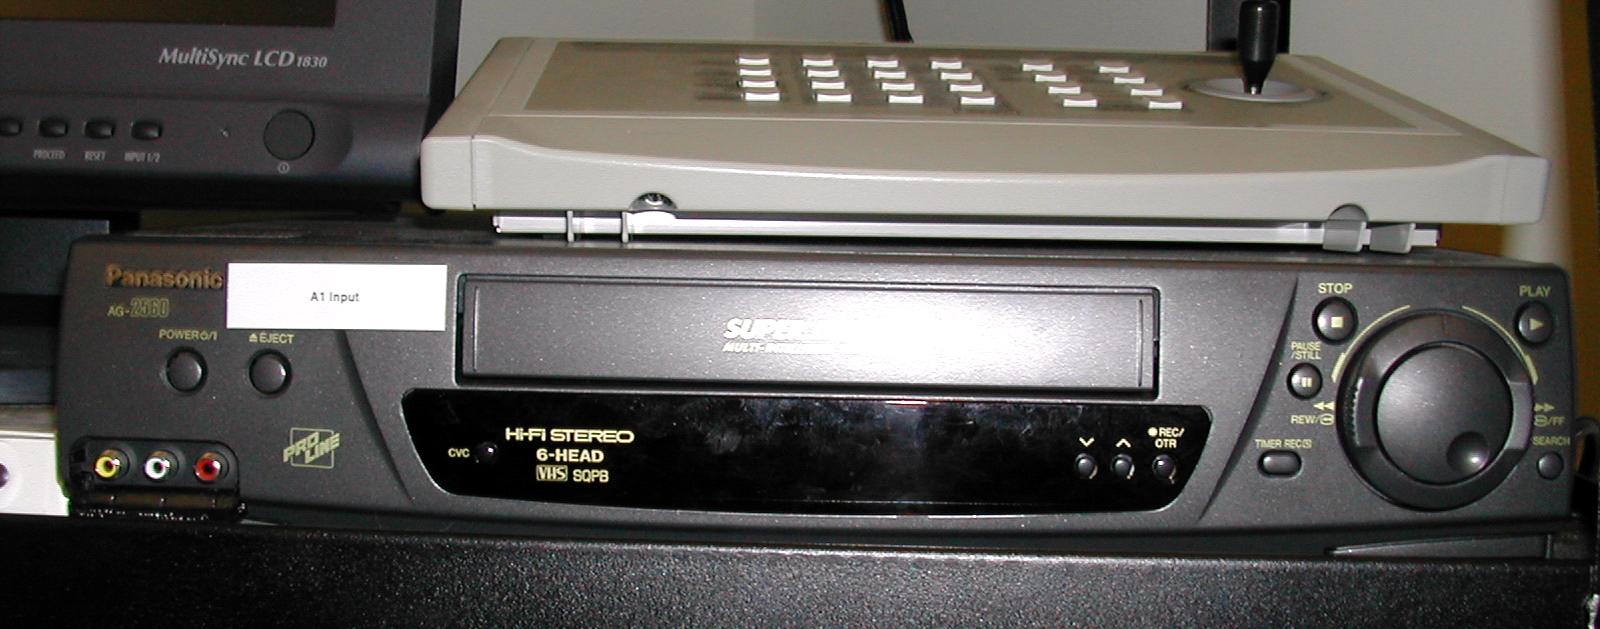 |
| One camera is fixed while the other camera rotates. The rotating camera can be focused either on the computer for hi-fi prototype testing or the table for lo-fi paper prototyping. When rotating the camera simply use the joystick on the right side. | 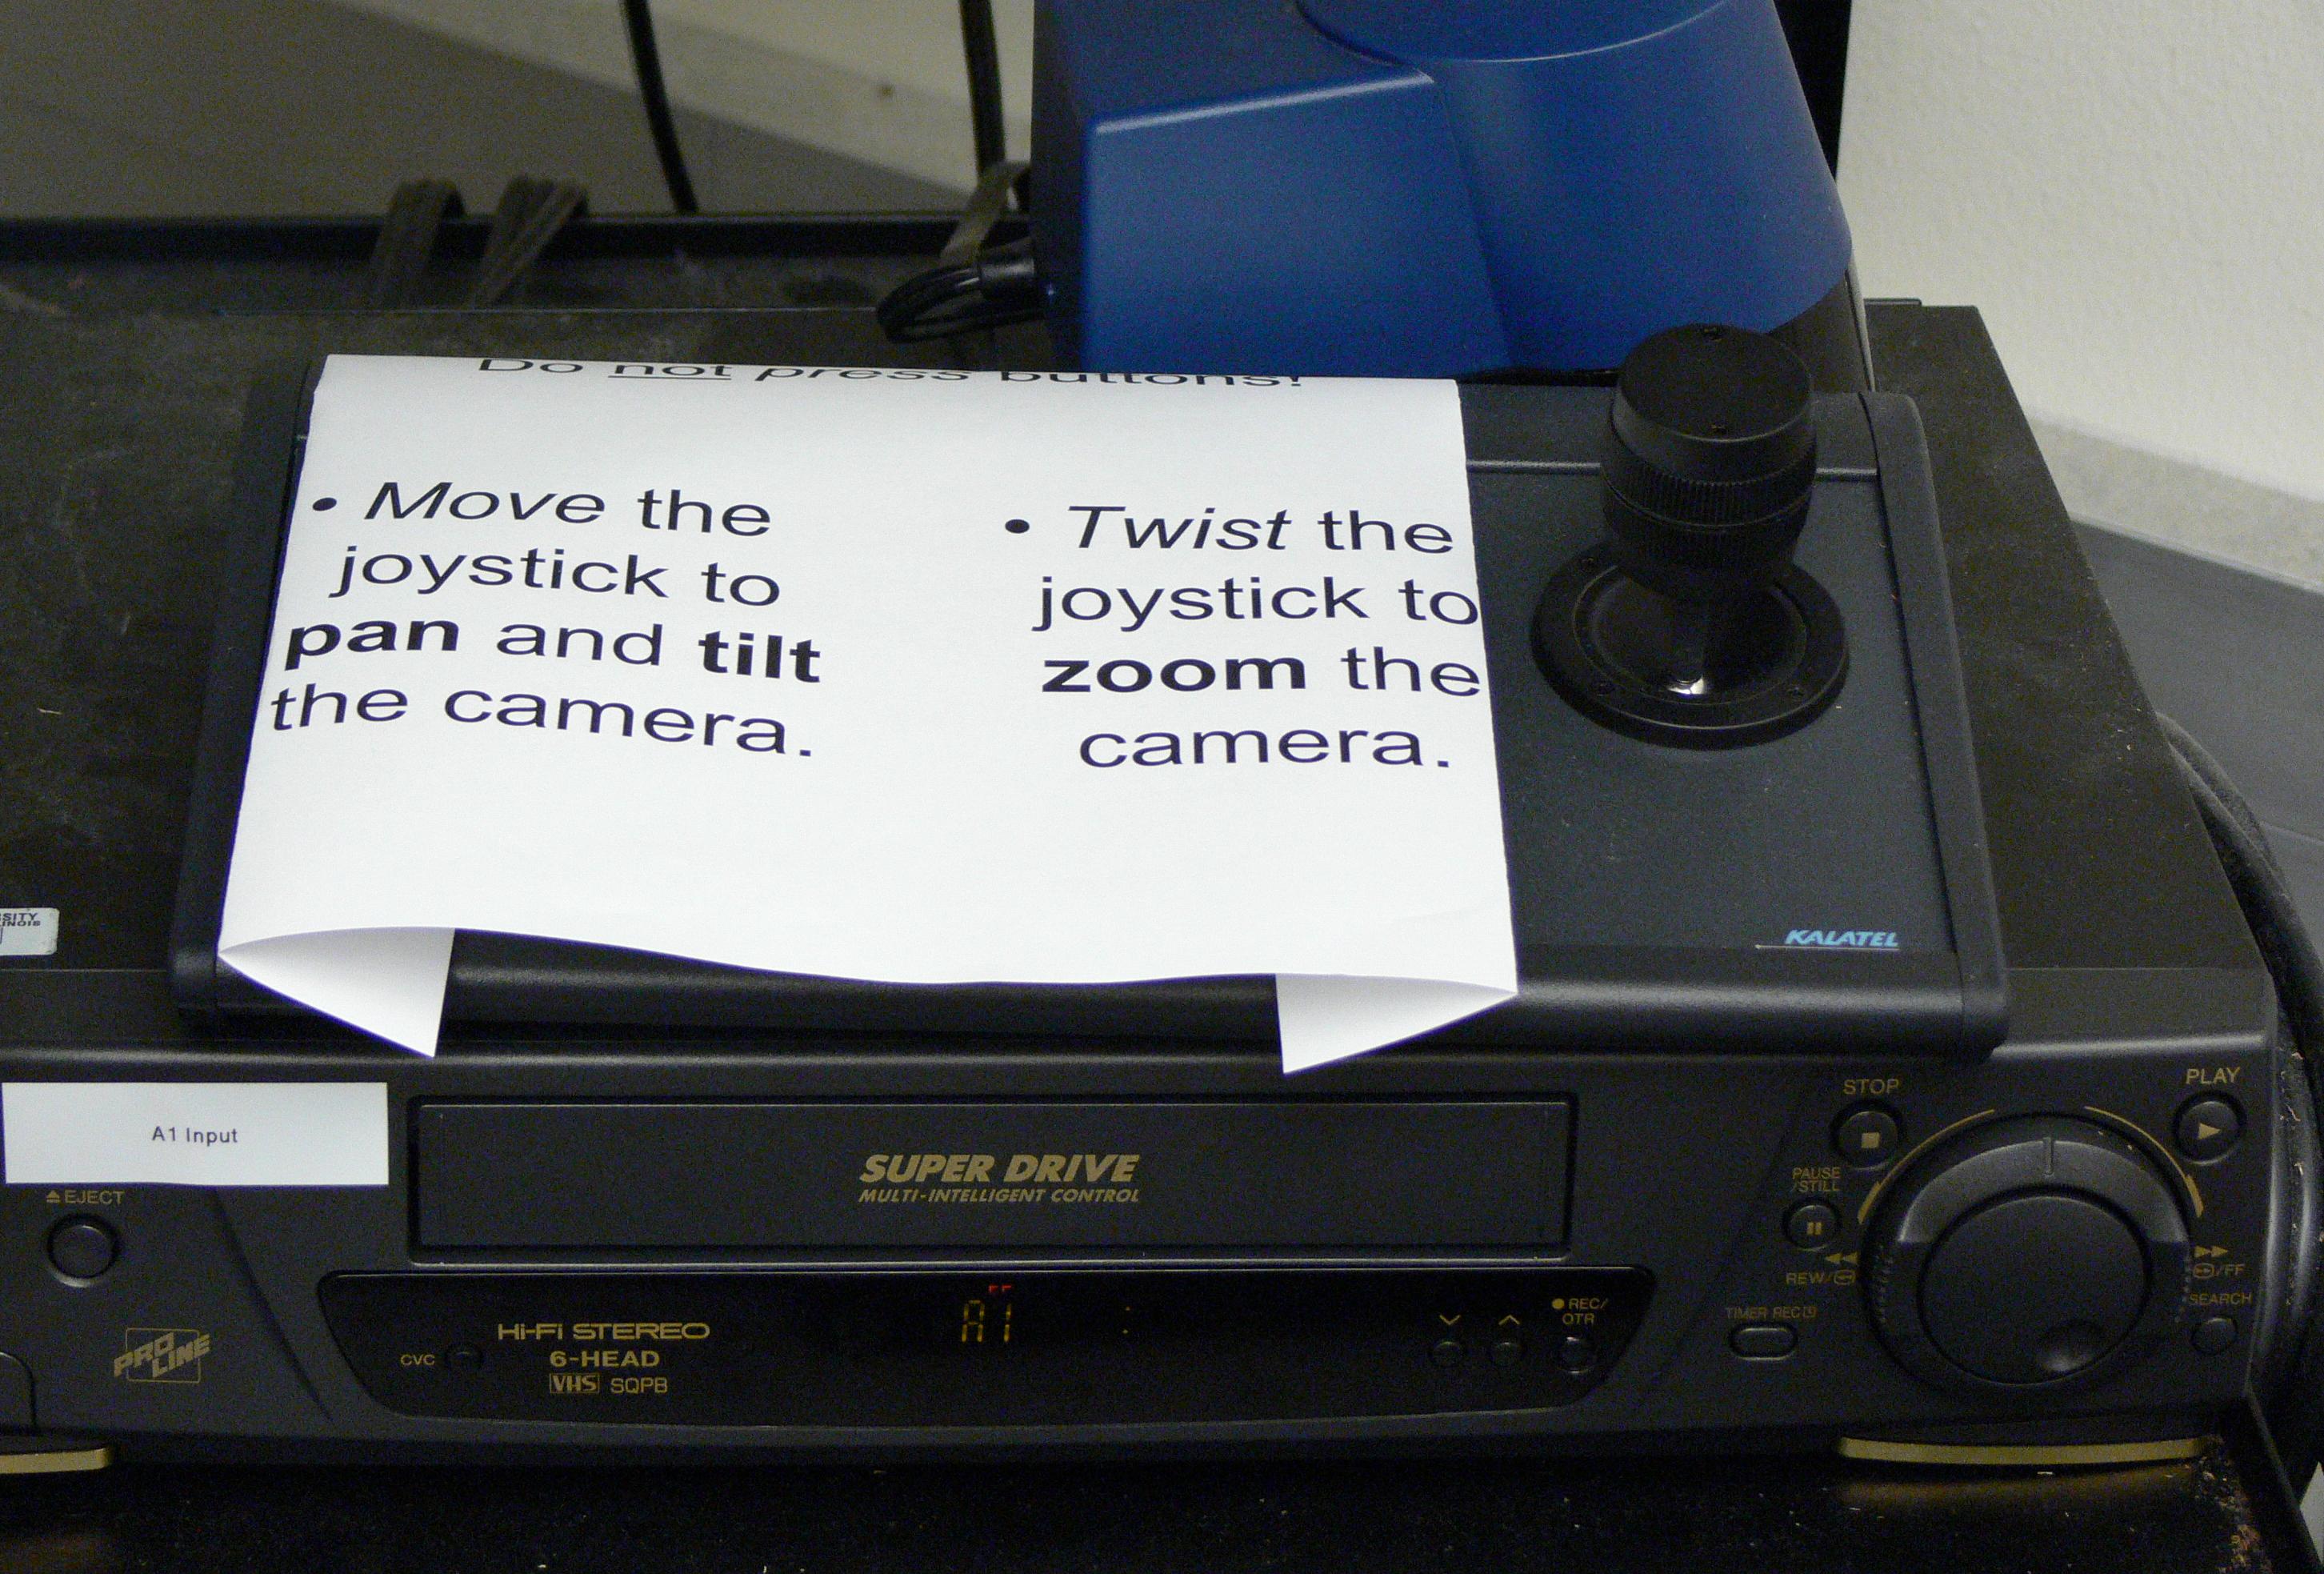 |
The rotating camera can also be used to do taped interviews by zooming out. Microphones are mounted in the ceiling.
| The TV screen can be split between both cameras or it can be put on one or the other camera. This is done by selecting either “CAM 1”, “CAM 2”, or “SPLIT” on the splitter shown to the right. What you see on the screen is what is recorded on the videotape. | 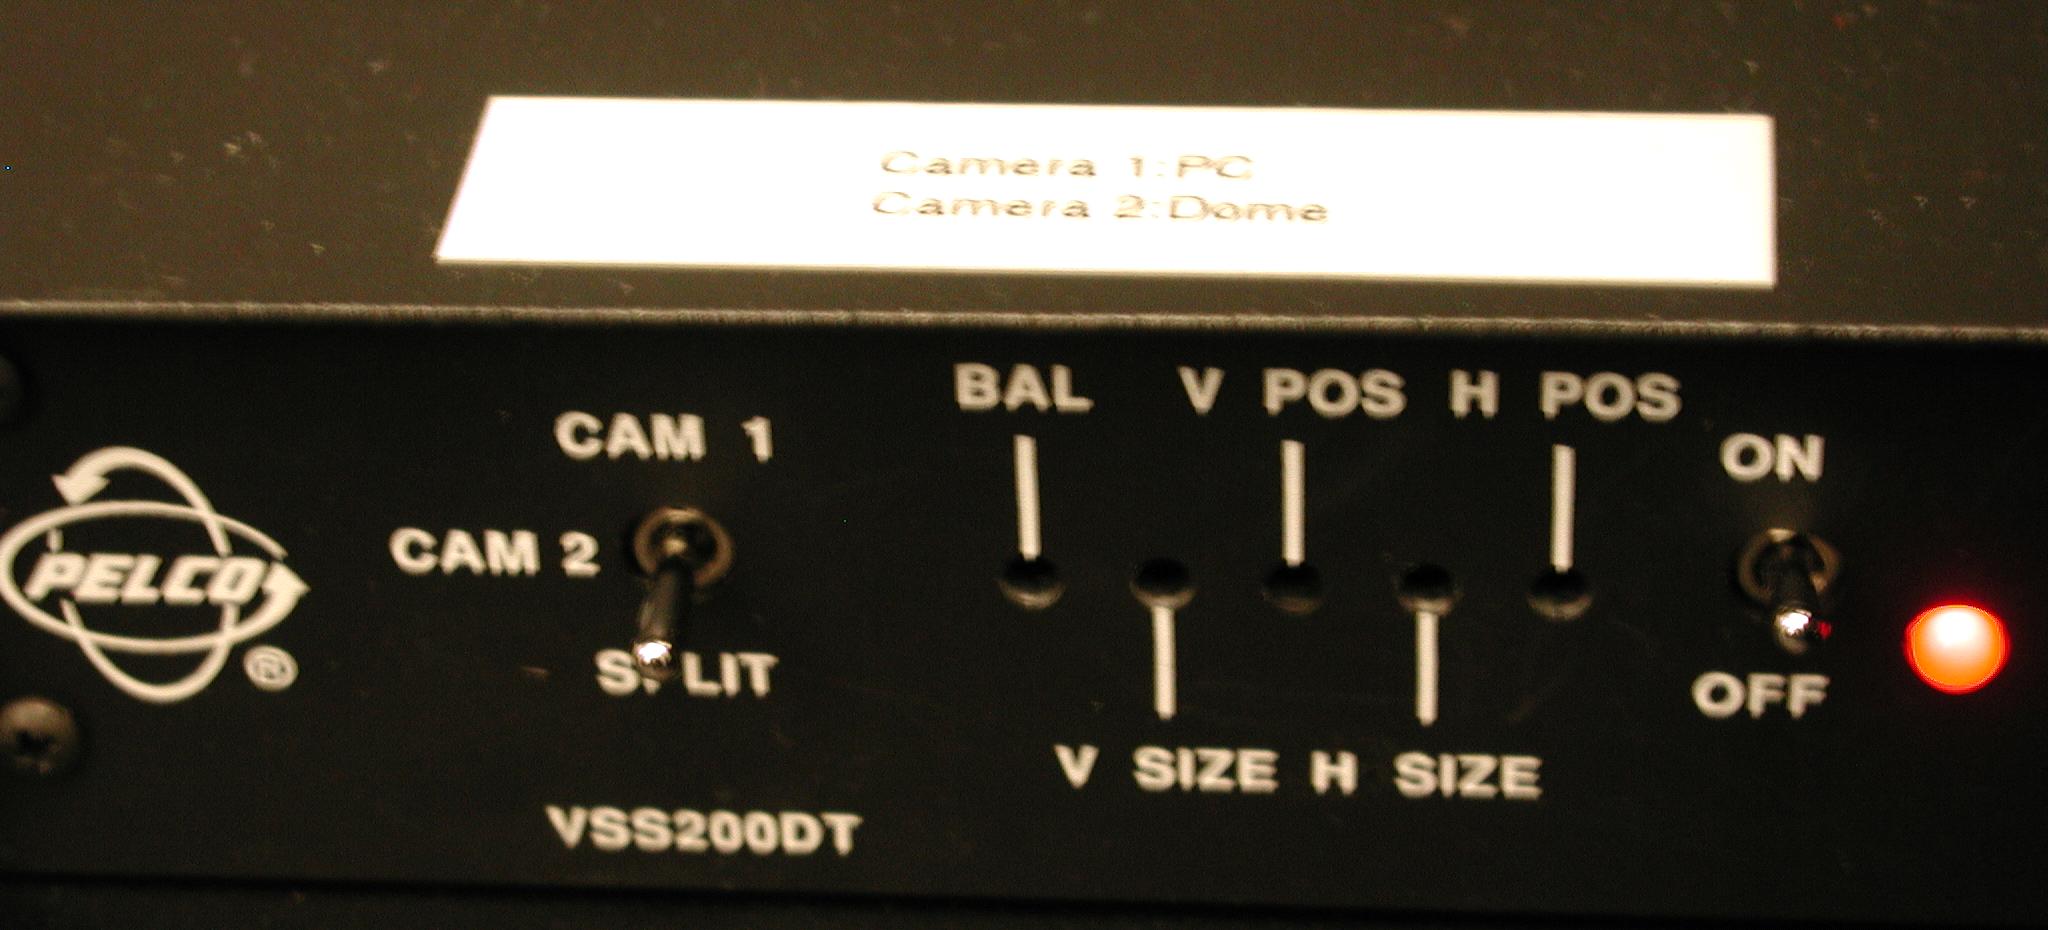 |
| When scheduling the lab, write your name on the sign-up sheet which is located on the tack board outside of the lab. It is very important that if you schedule a time and later discover that you won’t need the lab at that time that you erase your name to make the lab available to others. | 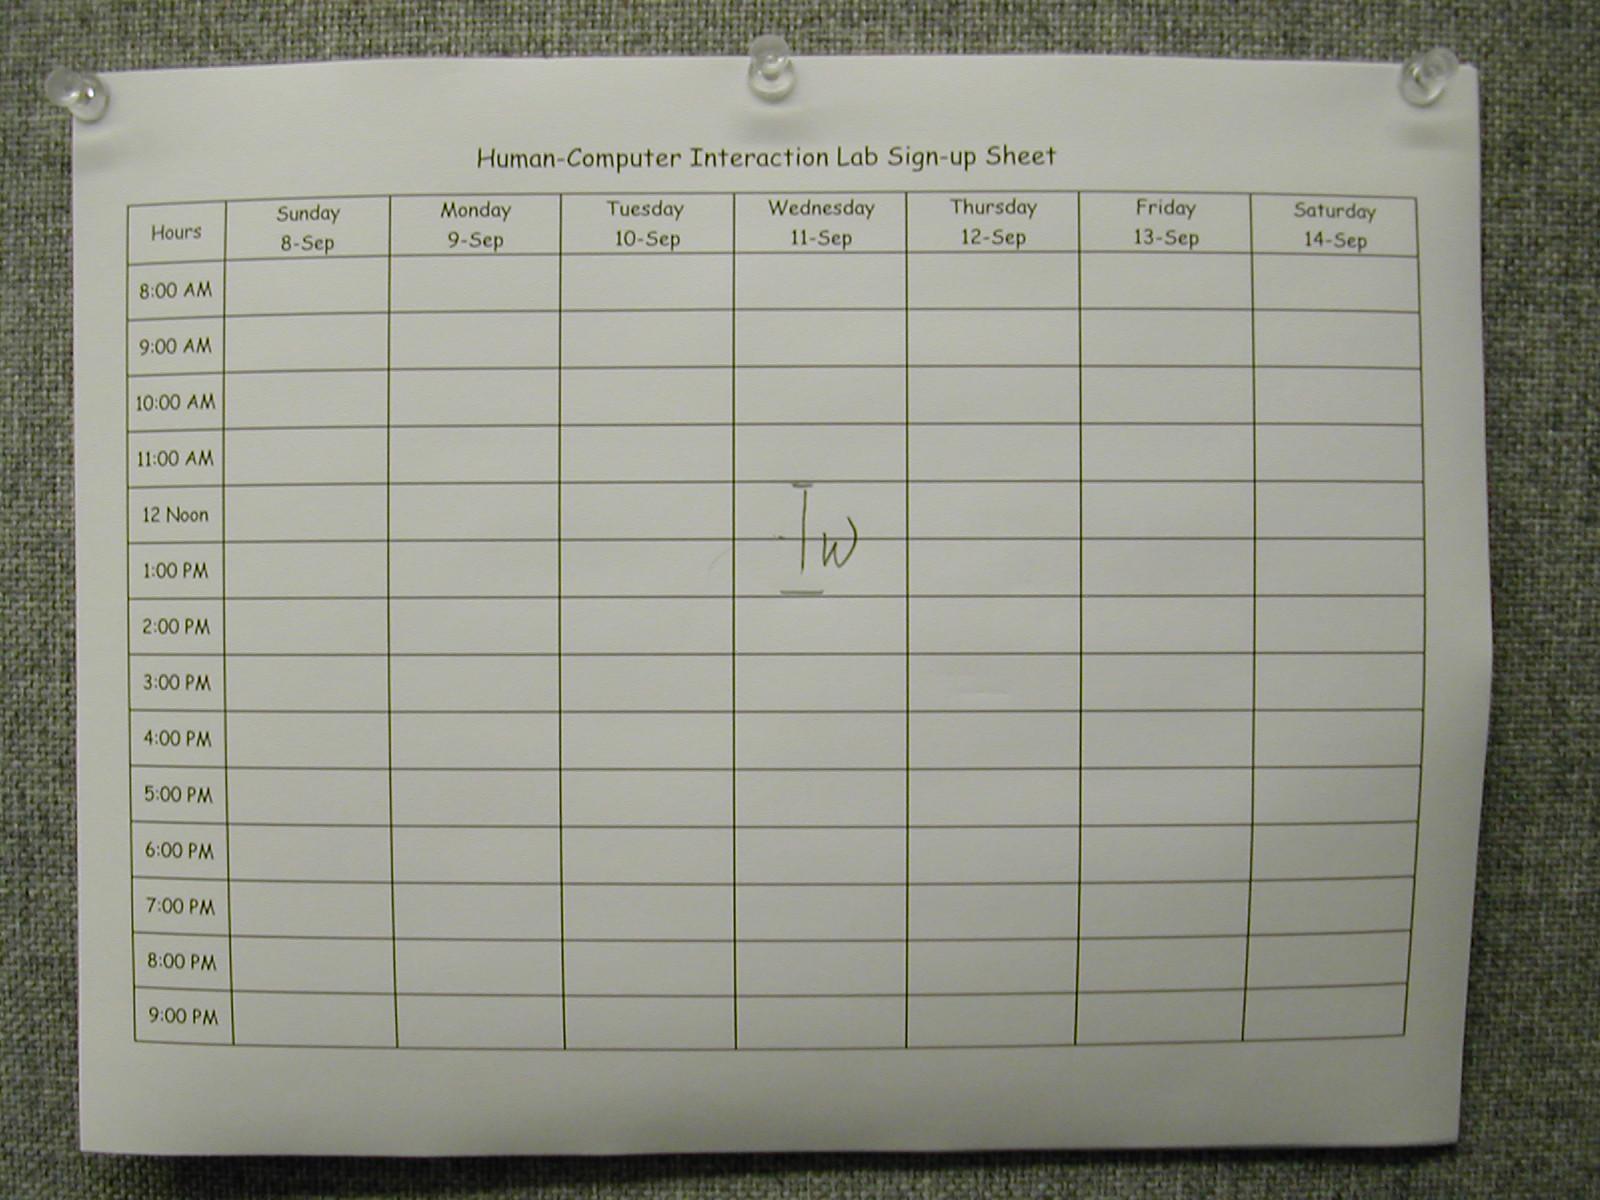 |